Merchant management
Using the merchant management tool, users can onboard new and manage their existing merchants. This feature is only available to PSPs.
InformationPSPs with multiple accounts can manage all their associated merchants in one centralised location. Users can only onboard and manage merchants linked to the PSP IDs they have access to.
How to onboard a new merchant
Through the Dashboard's left sidebar, go to the onboarding group, and select Merchant management. Click the Onboard New Merchant button at the top of the page to start the process.
Onboarding a new merchant and configuring their payment methods involves six steps.
On the right side of the interface, you’ll find the detailed list of steps to complete:
- Step 1: Merchant legal entity Add the business details of the merchant.
- Step 2: Business address Add the registered address of the merchant's legal entity.
- Step 3: Business owners Add the business owner's details.
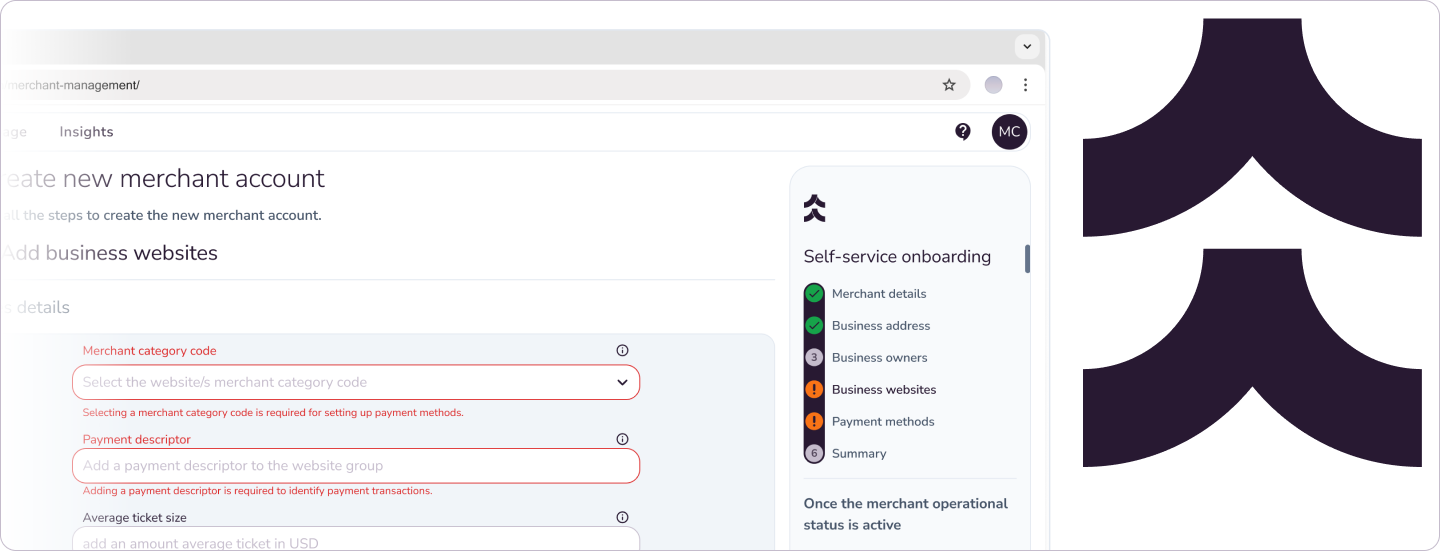
- Step 4: Business websites Add the business website URLs and required details.
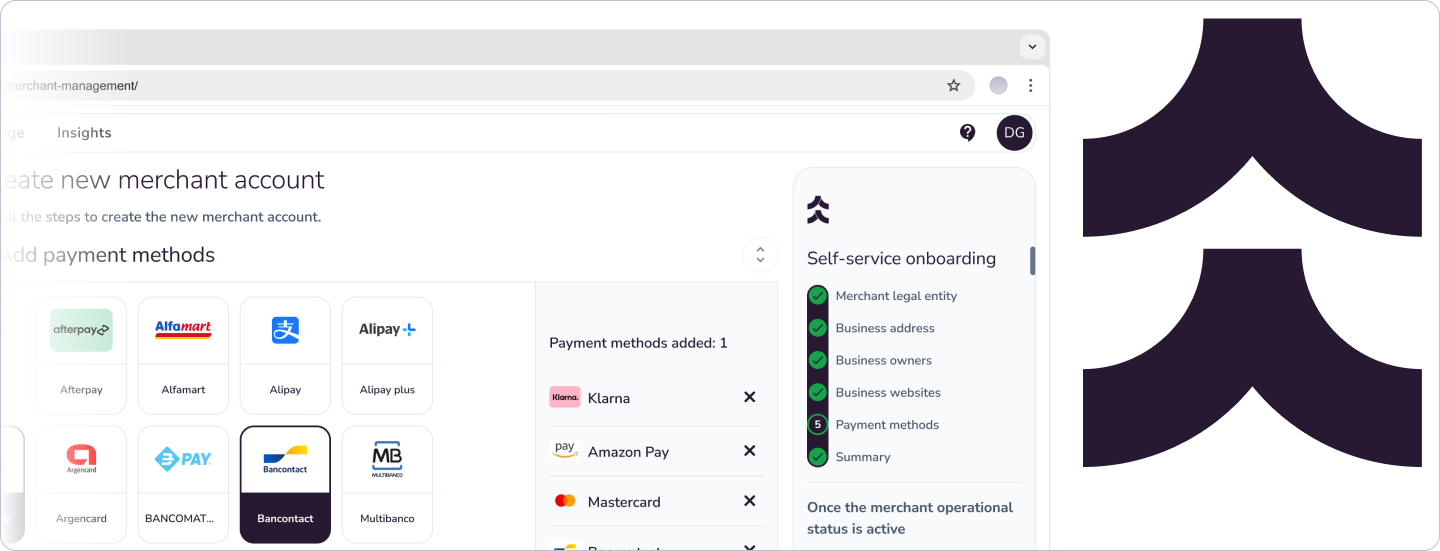
- Step 5: Payment methods Select the payment methods to configure for the merchant.
- Step 6: Summary In the final step, review the merchant information and make any necessary changes before creating the merchant.
Error handlingIf any required information is missing from the previous steps, you'll see warning messages on the right side panel.
New merchant account created
After creating a new merchant account, a confirmation message will appear with three options:
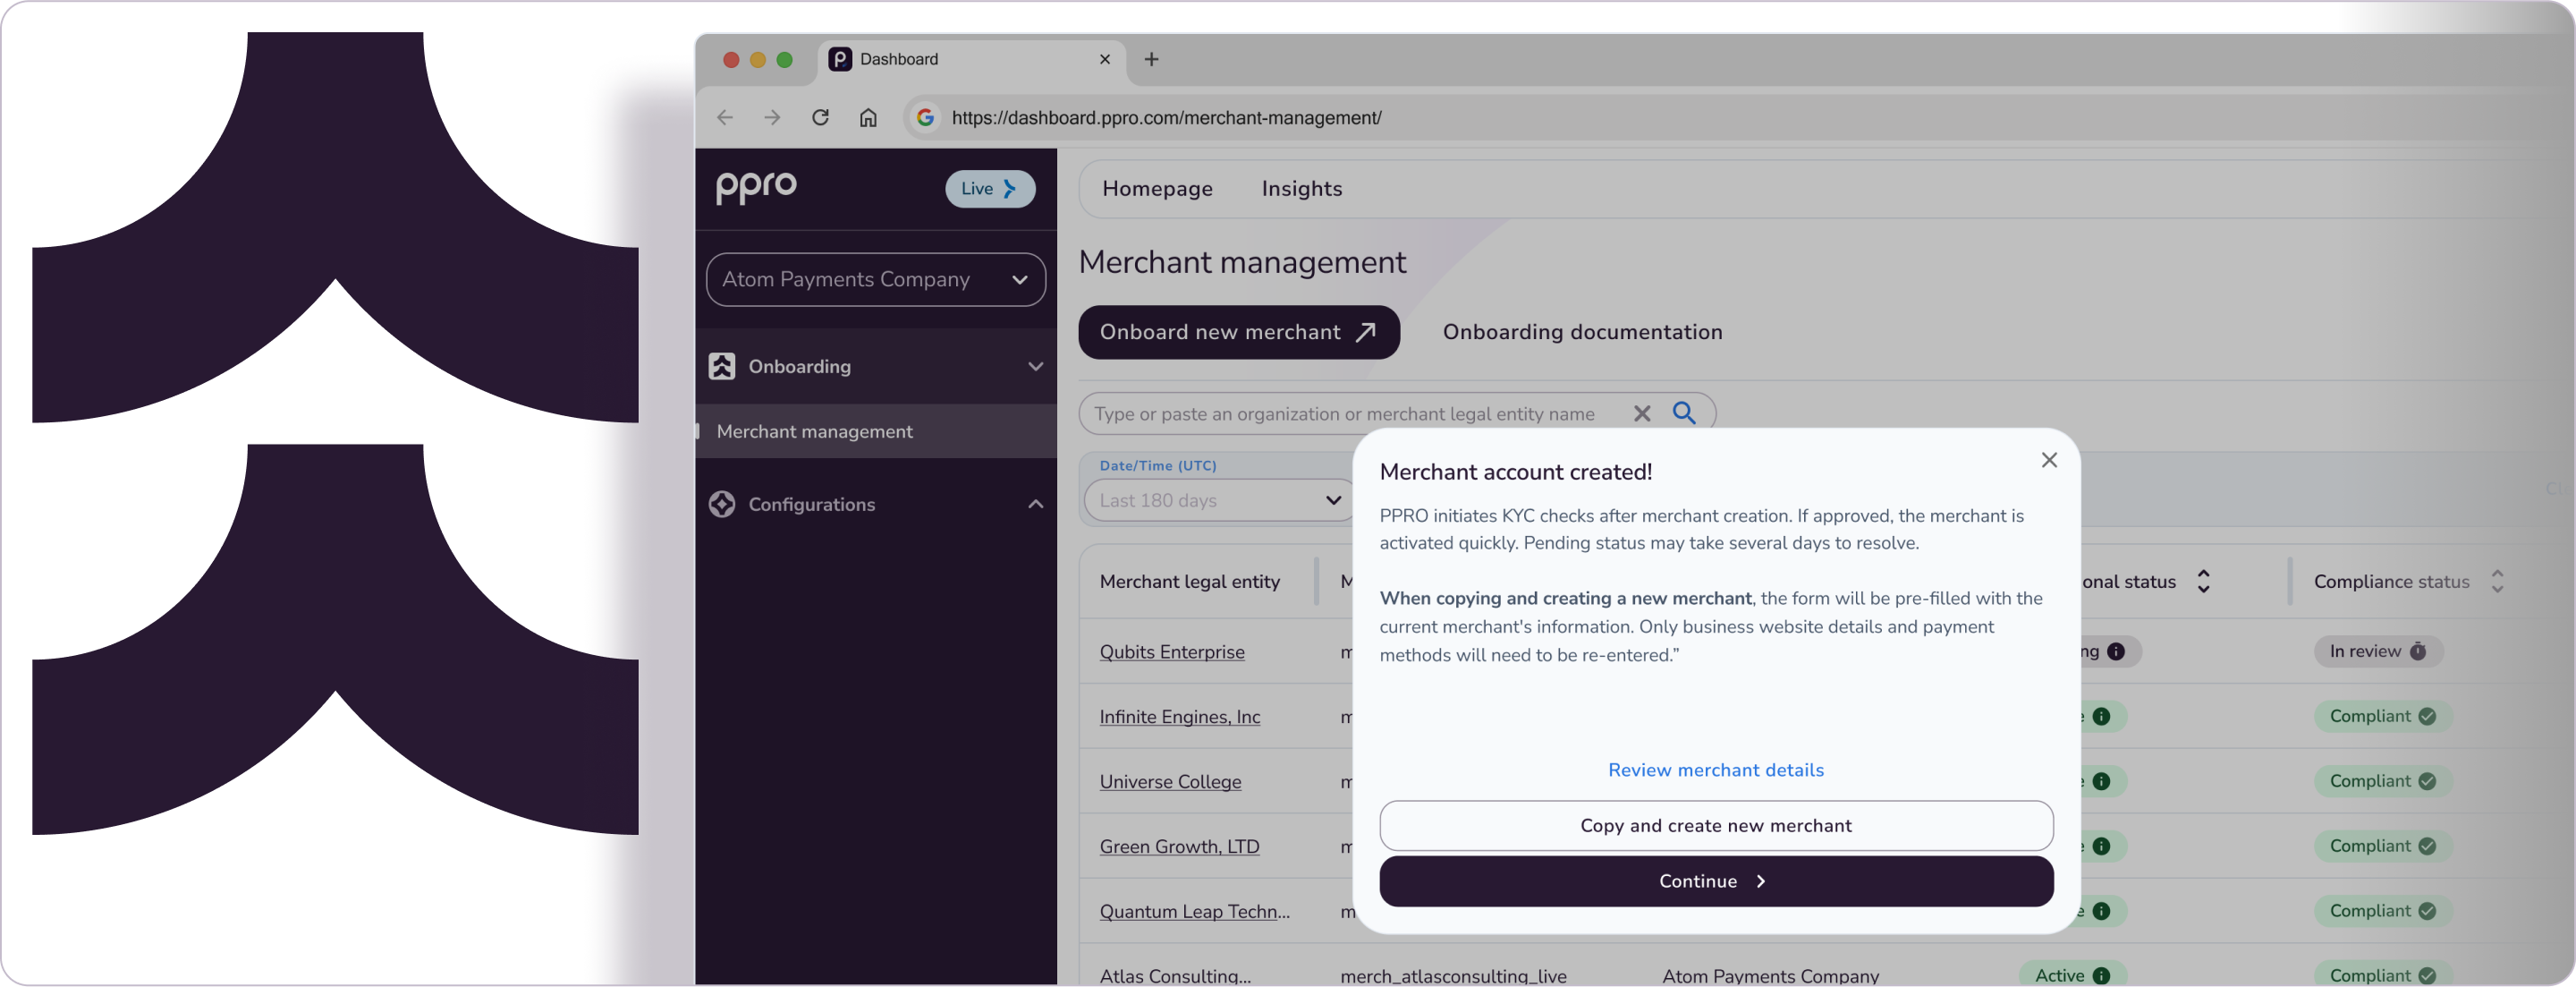
- Review merchant details: Go to the merchant details page.
- Copy and create new merchant: Use this option if the merchant has multiple merchant category codes under the same legal entity. Duplicate the existing merchant data, complete steps 4 and 5 to create a new merchant account linked to the same legal entity.
- Continue: Go to the main page of the merchant management.
ImportantAfter a merchant is created, PPRO initiates KYC checks. If no compliance-related risks are found, the merchant is activated within seconds, and their operational status will be Active.
If the merchant operational status is Pending, it can take several days to change to Active.
Only merchants with Active operational status can accept payments.
Edit the merchant details
To edit merchant details:
- Select Merchant management from the Onboarding group in the left sidebar.
- In Merchant management search for a specific merchant by:
- Typing the merchant's legal entity name.
- Filtering the date when the merchant was created or the operational status.
- Click on the merchant's legal entity name to view their details.
- Click Edit details to modify the merchant's information.
- Update the necessary information and click Save changes.
ImportantNote that compliance checks will be triggered after every change.
Updated 10 months ago